Datasets Metadata
In GeoNode special importance is given to Metadata and their standard formats.
Editing Metadata
You can open the Metadata form of a Dataset by clicking the Edit Metadata link from the Edit options on the Dataset Page.
Basic Metadata
The first two steps are mandatory (no datasets will be published if the required information are not provided) whereas the last two are optional.
Basic Dataset Metadata
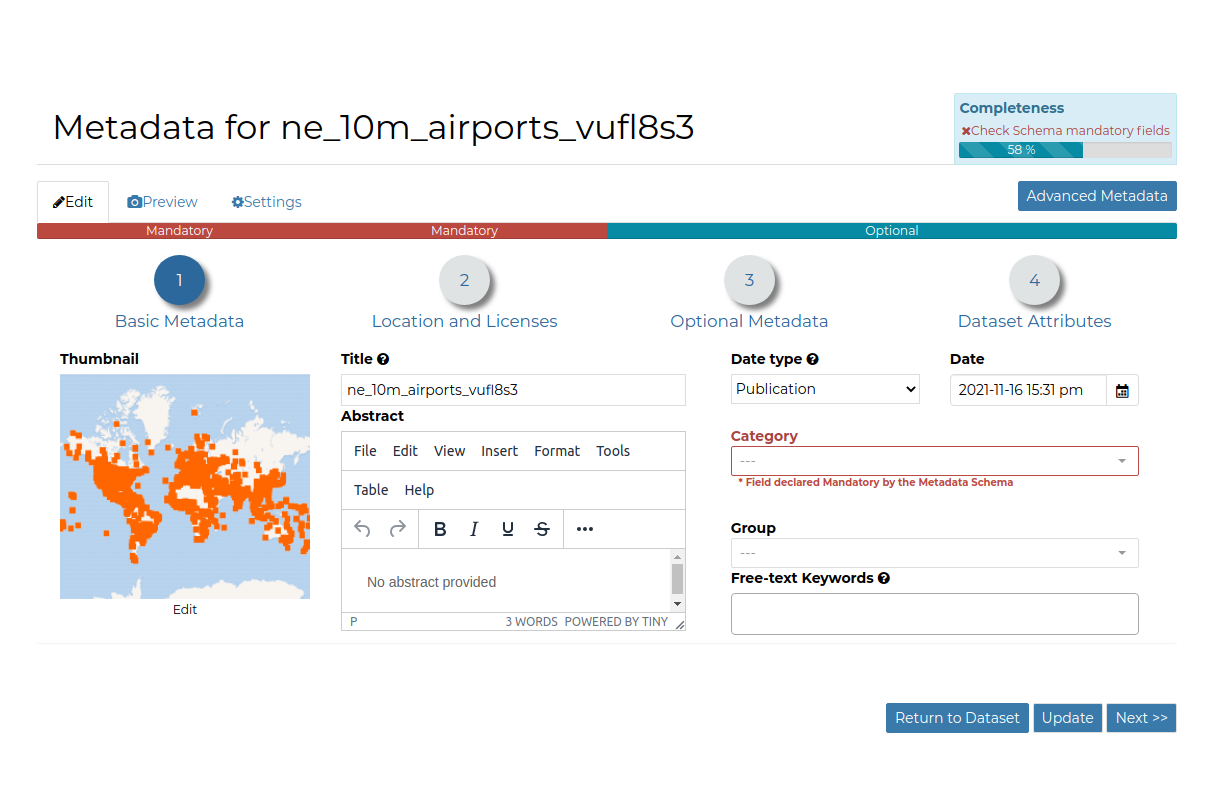
In the first step the system asks you to insert the following metadata:
Thumbnail of the dataset (click Edit to change it);
Title of the dataset, which should be clear and understandable;
Abstract; brief narrative summary of the content of the dataset
Note
The Abstract panel allows you to insert HTML code through a wysiwyg text editor
Creation/Publication/Revision Dates which define the time period that is covered by the dataset;
Keywords, which should be chosen within the available list. The contributor search for available keywords by clicking on the searching bar, or on the folder logo representing, or by entering the first letters of the desired word;
Category which the dataset belongs to;
Group which the dataset is linked to.
Location and Licenses
Location and Licenses Metadata for Datasets
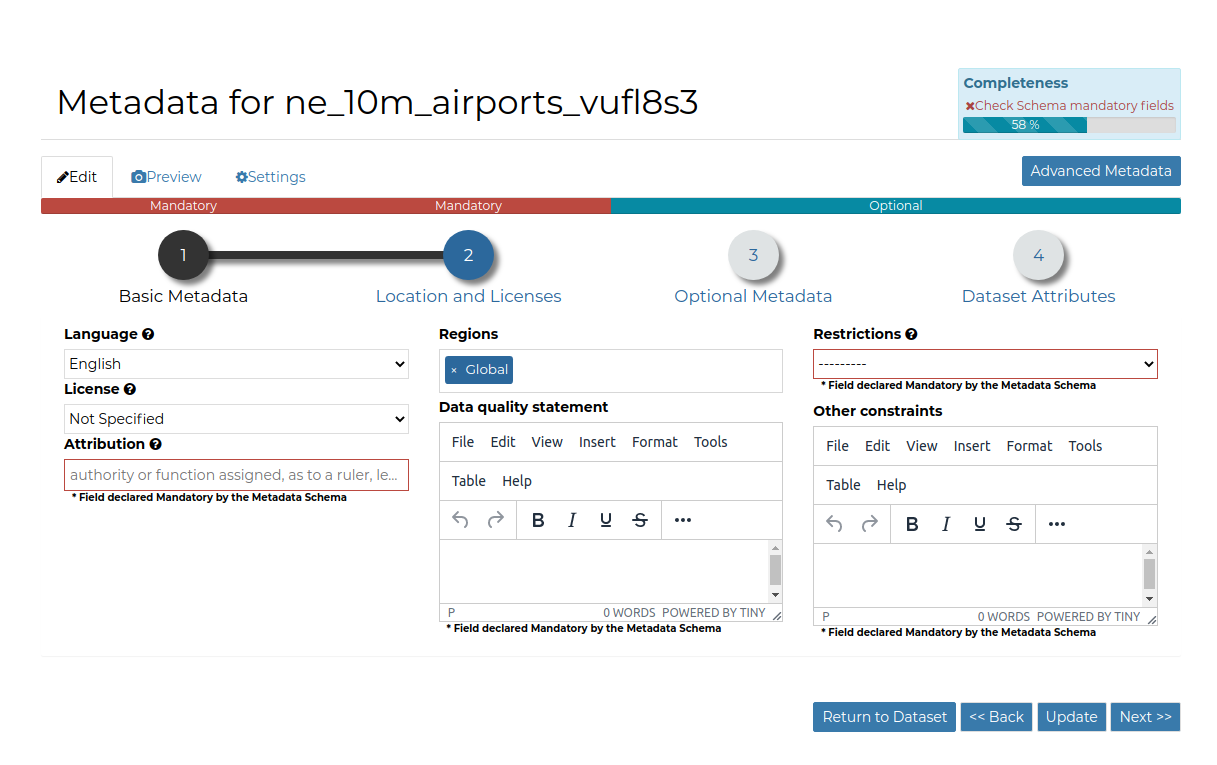
The following list shows what kinds of metadata you are required to enter (see also the picture below):
Language of the dataset;
License of the dataset;
DOI of the dataset; if available, this represents the Digital Object Identifier of the resource
Attribution of the dataset; authority or function assigned, as to a ruler, legislative assembly, delegate, or the like
Regions, which informs on the spatial extent covered by the dataset. Proposed extents cover the following scales: global, continental, regional, national;
Data Quality statement (general explanation of the data producer’s knowledge about the lineage of a dataset);
Potential Restrictions on dataset sharing.
Note
The Data Quality statement and Restrictions panels allow you to insert HTML code through a wysiwyg text editor
Optional Metadata
Optional Dtaset Metadata
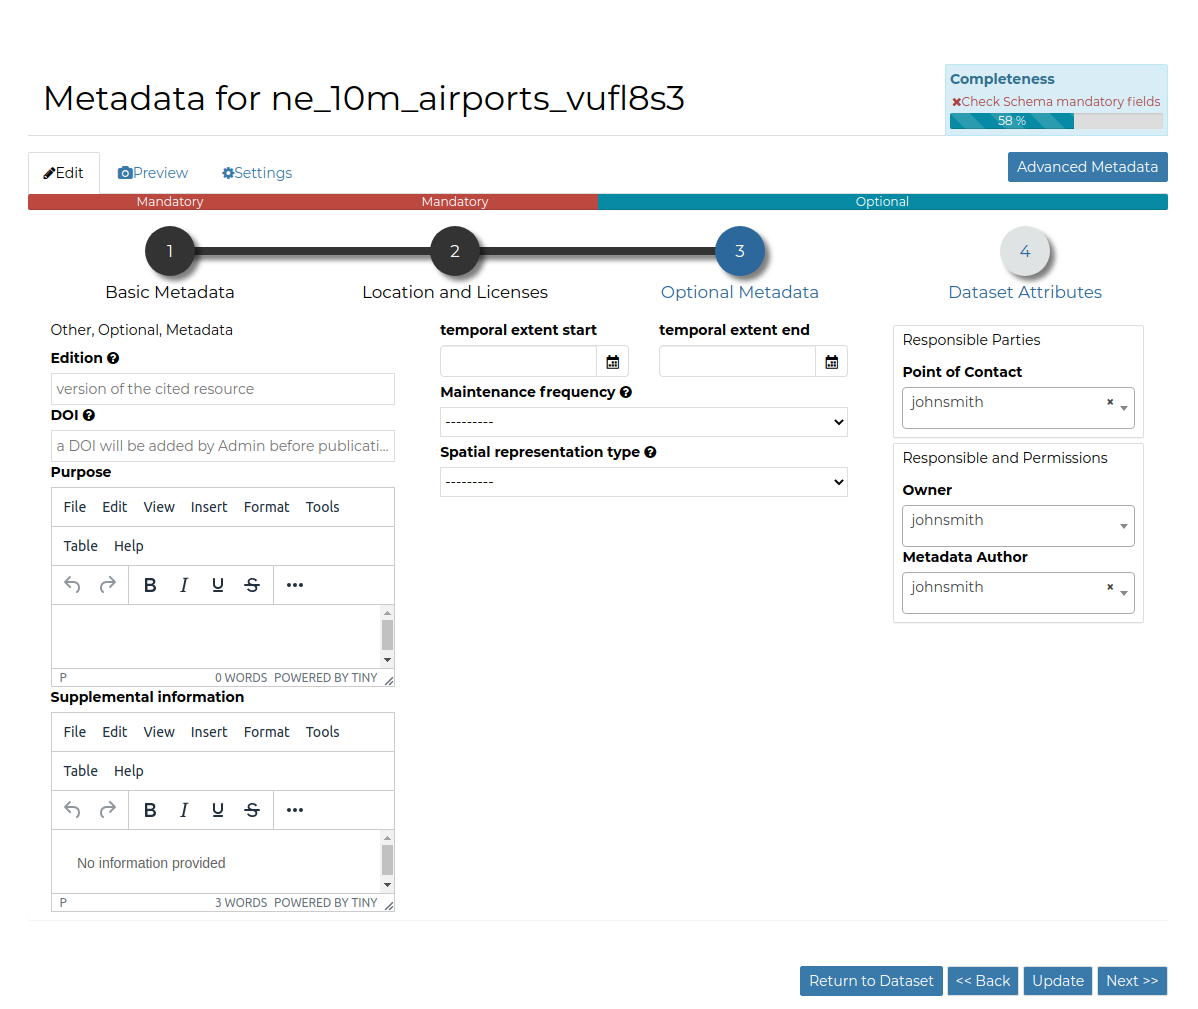
Complementary information are:
Edition to indicate the reference or the source of the dataset;
Purpose of the dataset and its objectives;
Supplemental information that can provide a better understanding of the uploaded dataset;
Maintenance frequency of the dataset;
users who are Responsible for the dataset, its Owner, and the Author of its metadata;
Spatial representation type used.
Related resources to link one or multiple resources to the document. These will be visible inside the Dataset Information panel
Note
The Purpose and Supplemental information panels allow you to insert HTML code through a wysiwyg text editor
Dataset Attributes
Dataset Attributes Metadata for Dataset
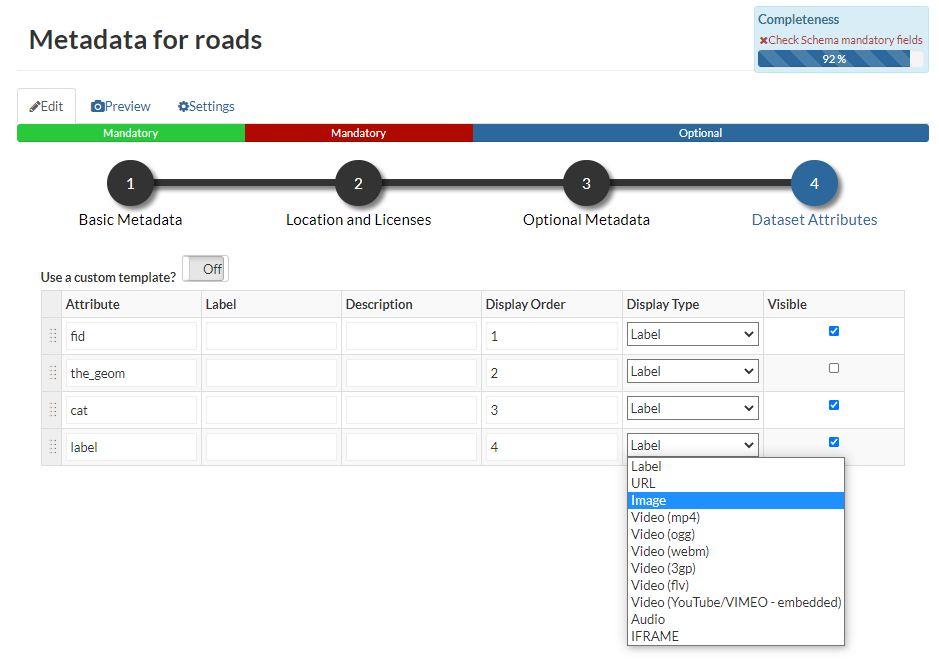
At this step you can enrich the dataset attributes with useful information like the following:
The Label displayed
A detailed Description
The Display Order
The Display Type; the default value is Label, which means that the value of the attribute will be rendered as a plain text. There’s the possibility to instruct GeoNode to threat the values as different media-types. As an instance, if the values of the selected attribute will contain image urls, by selecting the
IMAGEDisplay Type you will allow GeoNode to render the image directly when querying the dataset from the maps. The same forVIDEO,AUDIOorIFRAMEmime types.The Visibile flag; allows you to instruct GeoNode wether or not hiding an attribute from the Get Feature Type outcomes
It is possible to define a completely custom
HTMLtemplate for the Get Feature Type outcome. That is possible by enabling the Use a custom template flag as shown in the figure below.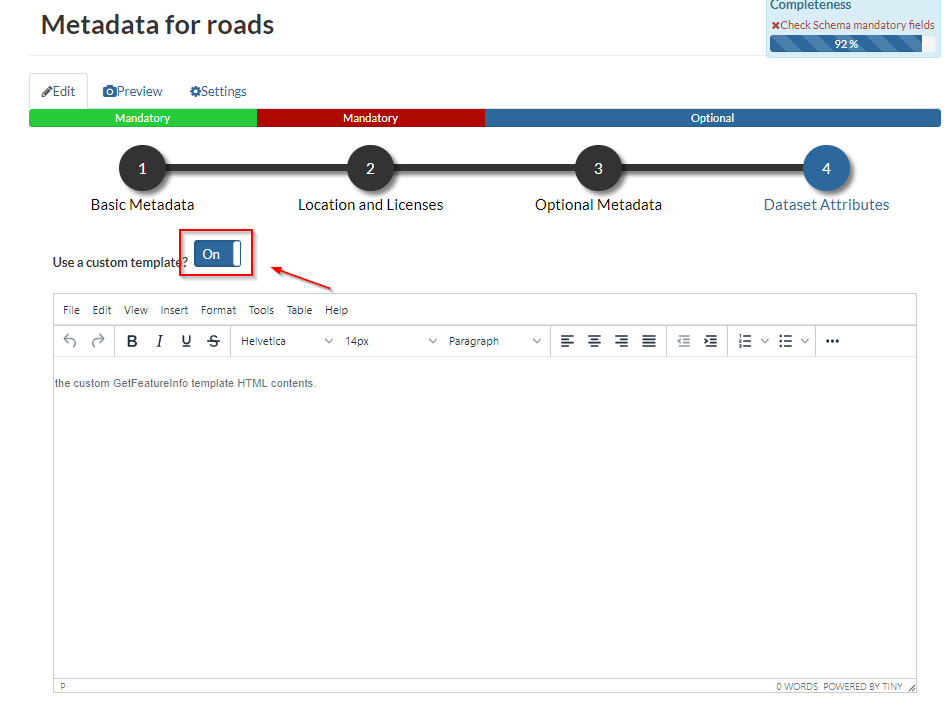
Use a custom template
By using the keywork
${properties.<attribute_name>, you can tell to GeoNode to render the actual value of the attribute on the map.As an instance, the example below
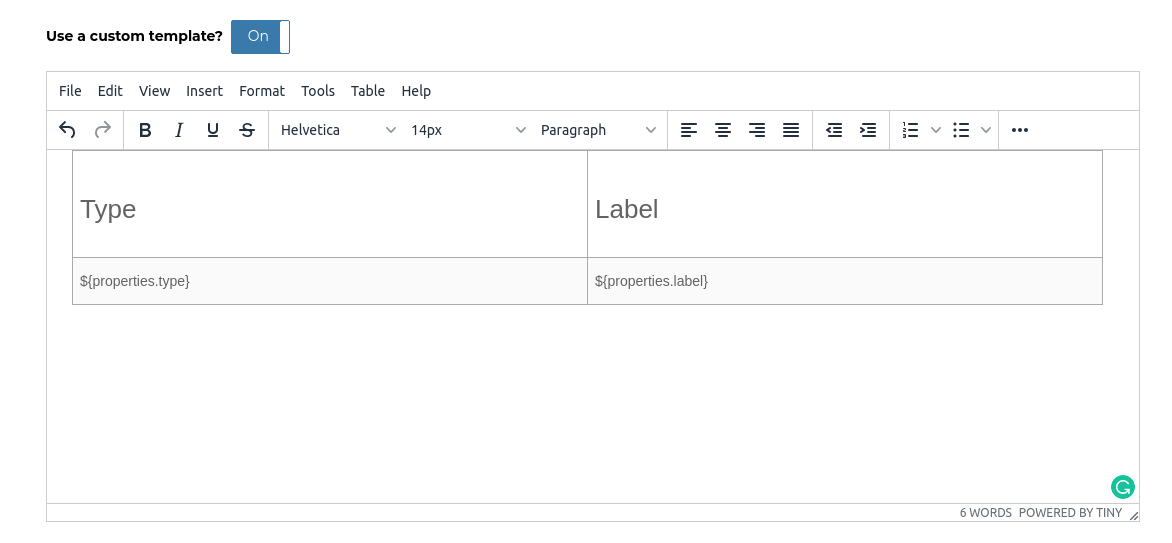
Use a custom template: HTML
Will render an
HTML Tablealong with values as shown here below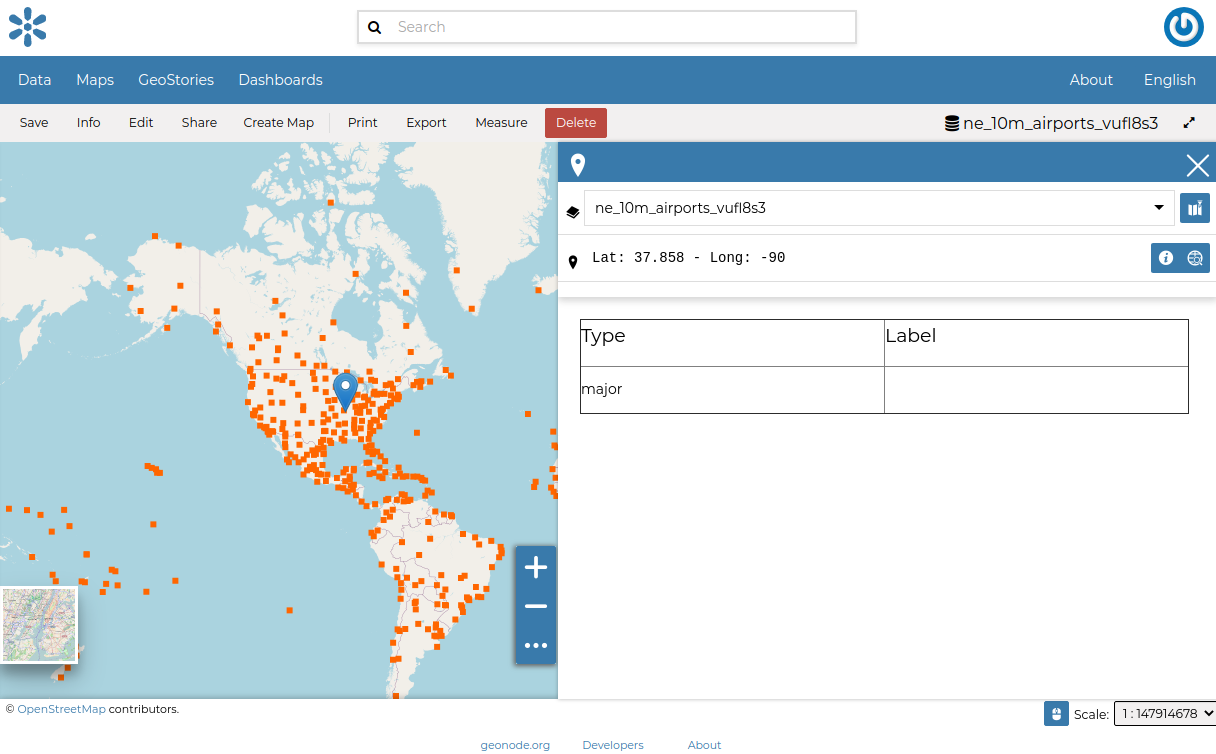
Use a custom template: Get Feature Info outcome
Use next >> or << back to navigate through those steps. Once you have finished click on Update.
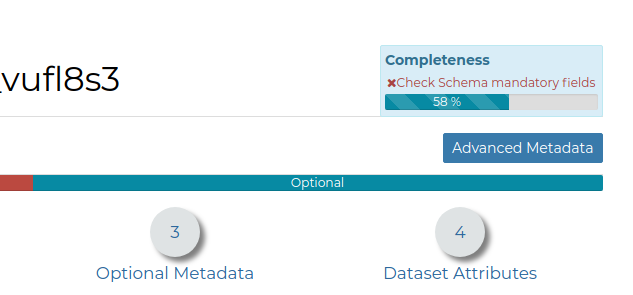
Some metadata are mandatory, if you miss any of that metadata the Completeness bar shows you a red message like the one in the picture below.
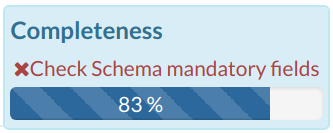
Completeness Progress Bar
Metadata Advanced Editing
In the Edit Metadata page the Advanced Metadata button is also available.
The Advanced Metadata button
Click on it to display the Metadata Advanced Editing Page. That page allows you to edit all the dataset metadata described in the previous paragraph. Once you have finished to edit them click on Update to save your changes.