GeoNode Themes
Theming your GeoNode Project
There are a range of options available to you if you want to change the default look and feel of your GeoNode Project.
Logos and graphics
GeoNode intentionally does not include a large number of graphics files in its interface. This keeps page loading time to a minimum and makes for a more responsive interface. That said, you are free to customize your GeoNode’s interface by simply changing the default logo, or by adding your own images and graphics to deliver a GeoNode experience the way you envision it.
Your GeoNode project has a directory already set up for storing your own images at <my_geonode>/static/img.
You should place any image files that you intend to use for your project in this directory.
Let’s walk through an example of the steps necessary to change the default logo.
Change to the
imgdirectory:$ cd <my_geonode>/static/img
If you haven’t already, obtain your logo image. The URL below is just an example, so you will need to change this URL to match the location of your file or copy it to this location:
$ wget https://upload.wikimedia.org/wikipedia/commons/thumb/a/ac/Service_mark.svg/500px-Service_mark.svg.png
$ wget https://upload.wikimedia.org/wikipedia/commons/thumb/c/c8/Wikimapia_logo_without_label.svg/426px-Wikimapia_logo_without_label.svg.png -O logo.png
Create snippets directory :
$ cd ../../..
$ mkdir <my_geonode>/templates/geonode-mapstore-client/snippets
$ cd <my_geonode>/templates/geonode-mapstore-client/snippets
Create a new HTML file named
brand_navbar.html$ sudo vi brand_navbar.html
{% extends "geonode-mapstore-client/snippets/brand_navbar.html" %}
{% load static %}
{% block extra_style %}
<style>
 #gn-brand-navbar {
   background: transparent url("/static/img/500px-Service_mark.svg.png") no-repeat;
   background-size: 300px 70px;
   background-position: left center;
   background-position-x: 100px;
 }
</style>
{% endblock %}
{% block logo_src %}
{% static 'img/logo.png' %}
{% endblock %}
Restart your GeoNode project and look at the page in your browser:
$ cd /home/geonode
$ sudo rm -Rf geonode/geonode/static_root/*
$ cd my_geonode
$ python manage.py collectstatic
$ sudo service apache2 restart
Note
It is a good practice to cleanup the static_folder and the Browser Cache before reloading in order to be sure that the changes have been correctly taken and displayed on the screen.
Visit your site at http://localhost/ or the remote URL for your site.
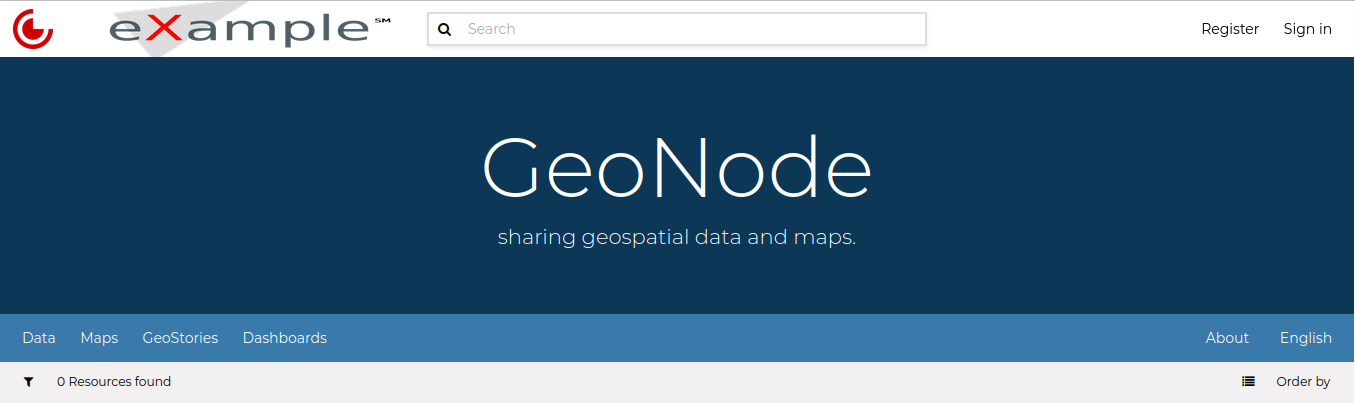
Custom logo
In the following sections you will learn how to customize this header to make it as you want.
Note
You should commit these changes to your repository as you progress through this section, and get in the habit of committing early and often so that you and others can track your project on GitHub. Making many atomic commits and staying in sync with a remote repository makes it easier to collaborate with others on your project.
Cascading Style Sheets
In the last section you already learned how to override GeoNode’s default CSS rules to include your own logo. You are able to customize any aspect of GeoNode’s appearance this way. In the last screenshot, you saw that the main area in the homepage is covered up by the expanded header.
First, we’ll walk through the steps necessary to displace it downward so it is no longer hidden, then change the background color of the header to match the color in our logo graphic.
Reopen
<my_geonode>/static/css/brand_navbar.htmlin your editor:
$ cd <my_geonode>/templates/geonode-mapstore-client/snippets
$ sudo vi brand_navbar.html
Append a rule to change the background color of the header to match the logo graphic:
#gn-brand-navbar {
    ....
    background-color: #ff0000 !important;
}
Create new file to manipulate hero section:
$ cd <my_geonode>/templates/geonode-mapstore-client/snippets
$ sudo vi hero.html
Add the following code to change the background image and font for the hero section:
{% extends "geonode-mapstore-client/snippets/hero.html" %}
{% block extra_style %}
  <style>
    #gn-hero {
      background-image: url('https://cdn.pixabay.com/photo/2017/09/16/16/09/sea-2755908_960_720.jpg');
      background-size: cover;
      background-position: center center;
      background-repeat: no-repeat;
      background-color: rgb(156, 156, 156);
      background-blend-mode: multiply;
      background-size: 100%;
    }
    .msgapi .gn-hero .jumbotron .gn-hero-description h1 {
      font-weight: lighter;
      word-break: break-word;
      font-style: oblique;
      font-family: orbitron;
      font-size: 3.4rem;
    }
  </style>
{% endblock %}
Collect the static files into STATIC_ROOT, restart the development server and reload the page:
$ python manage.py collectstatic
$ sudo service apache2 restart

CSS override
You can continue adding rules to this file to override the styles that are in the GeoNode base CSS file which is built from base.less.
Note
You may find it helpful to use your browser’s development tools to inspect elements of your site that you want to override to determine which rules are already applied. See the screenshot below.
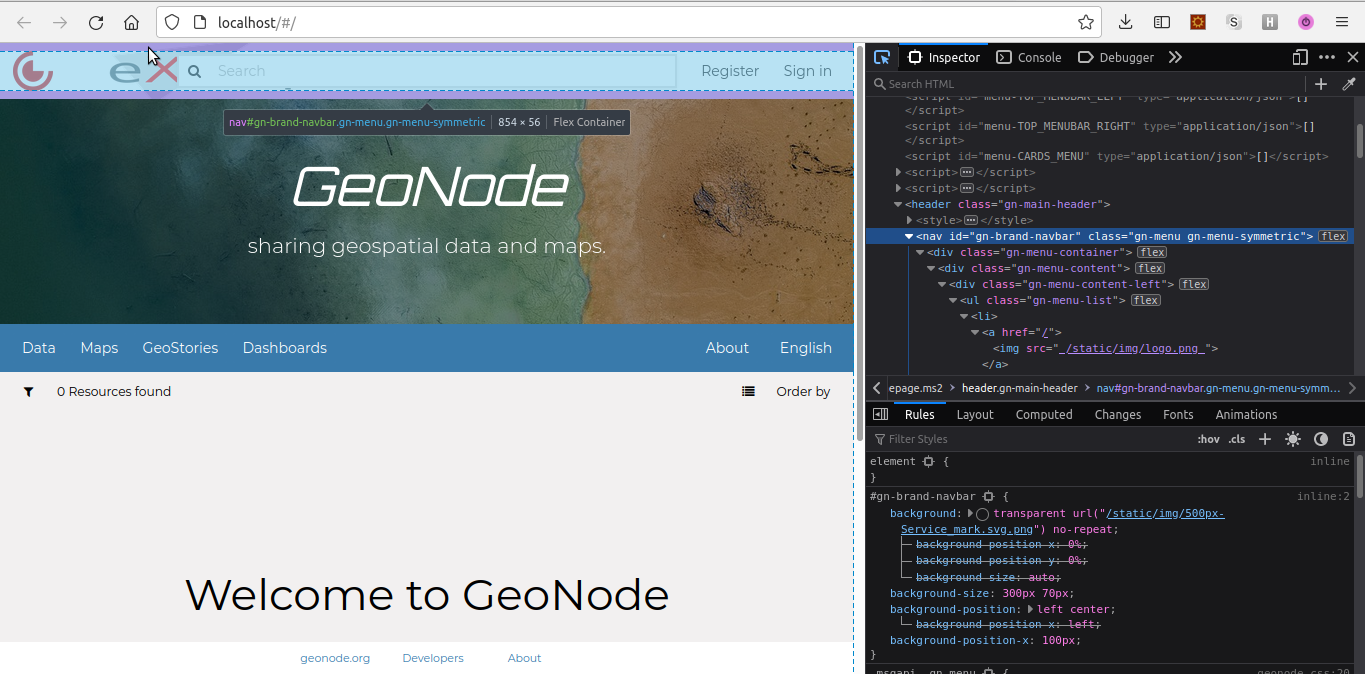
Screenshot of using browser debugger to inspect the CSS overrides
Modify GeoNode Homepage
So far we learned how to modify some template sections of your GeoNode main page.
You can do it individually per section template, adding a new page under
<my_geonode>/templates/geonode-mapstore-client/snippets folder with the
section name (ex: brand_navbar.html) or by extending the base template file
custom_theme.html where you can add different theme settings in one place.
Remove the previous hero section
hero.htmlfile:
$ rm <my_geonode>/templates/geonode-mapstore-client/snippets/hero.html
Create a new
custom_theme.htmlfile:
$ cd <my_geonode>/templates/geonode-mapstore-client/snippets
$ sudo vi custom_theme.html
Add the following content to this page:
{% load static %}
{% block content %}
<style>
    .msgapi .gn-theme {
        --gn-primary: #df7656;
        --gn-primary-contrast: #e3dcdc;
        --gn-link-color: #fcd823;
        --gn-focus-color: rgba(57, 122, 171, 0.4);
        --gn-footer-bg: #dbb051;
    }

    #gn-hero {
      background: url('https://cdn.pixabay.com/photo/2017/09/16/16/09/sea-2755908_960_720.jpg');
      background-position: center center;
      background-repeat: no-repeat;
      background-blend-mode: multiply;
      background-size: 100%;
    }

    .msgapi .gn-hero .jumbotron .gn-hero-description h1 {
      font-weight: bolder;
      word-break: break-word;
      font-style: oblique;
      font-family: orbitron;
      font-size: 3.4rem;
    }

    .msgapi .gn-hero .jumbotron .gn-hero-description p {
      font-weight: lighter;
      word-break: break-word;
      font-style: oblique;
      font-family: orbitron;
      font-size: 2.2rem;
    }

</style>
{% endblock %}
Restart httpd server
$ python manage.py collectstatic
$ sudo service apache2 restart
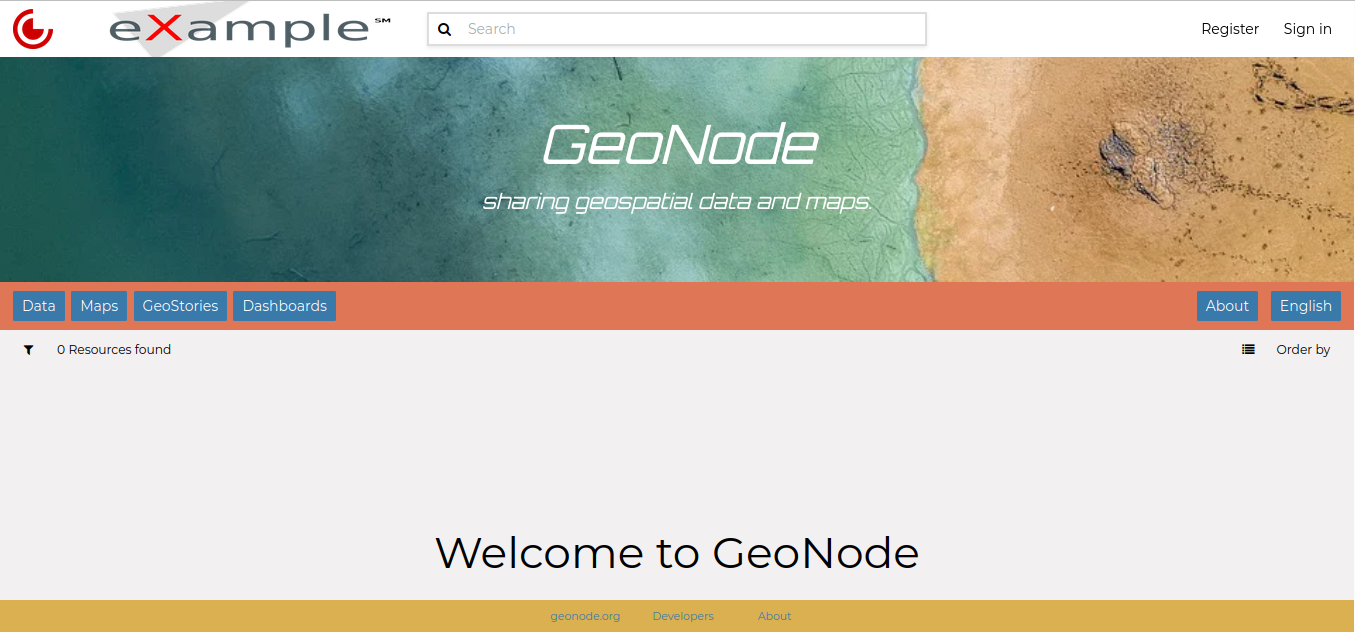
Your customized layout should be similar to the next picture:
Edit title and intro message
Login as administrator on GeoNode and go to Admin page:
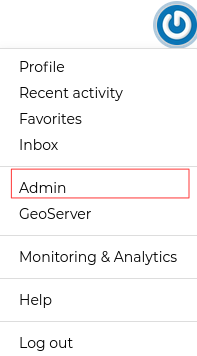
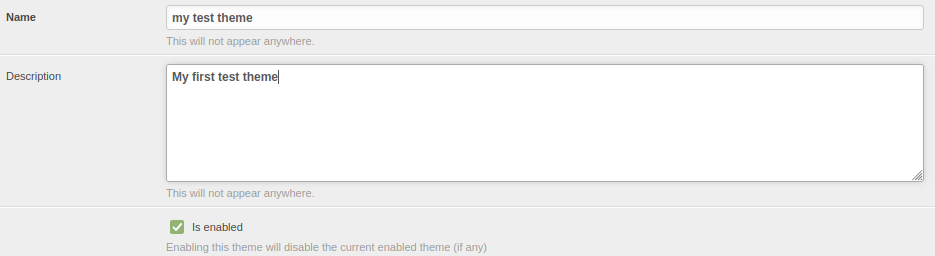
Create a new theme under GeoNode Themes Library and Themes:

Add a Name, Description and turn on Is enabled option.
At the bottom, add a Jumbotron title and Jumbotron content.
This will override the default GeoNode welcome title and message.
Click Save at the bottom in the end.

After this, reload your GeoNode homepage. The output should be similar to this:
