Creating Maps
In this section, we’ll create a Map using some uploaded layers, combine them with some other layers from remote web services, and then share the resulting map for public viewing.
In order to create new maps you can use:
the Create Map link of the Maps menu in the navigation bar

The Create Map link
the Create Map button in the Layer Page (it creates a map using a specific layer)
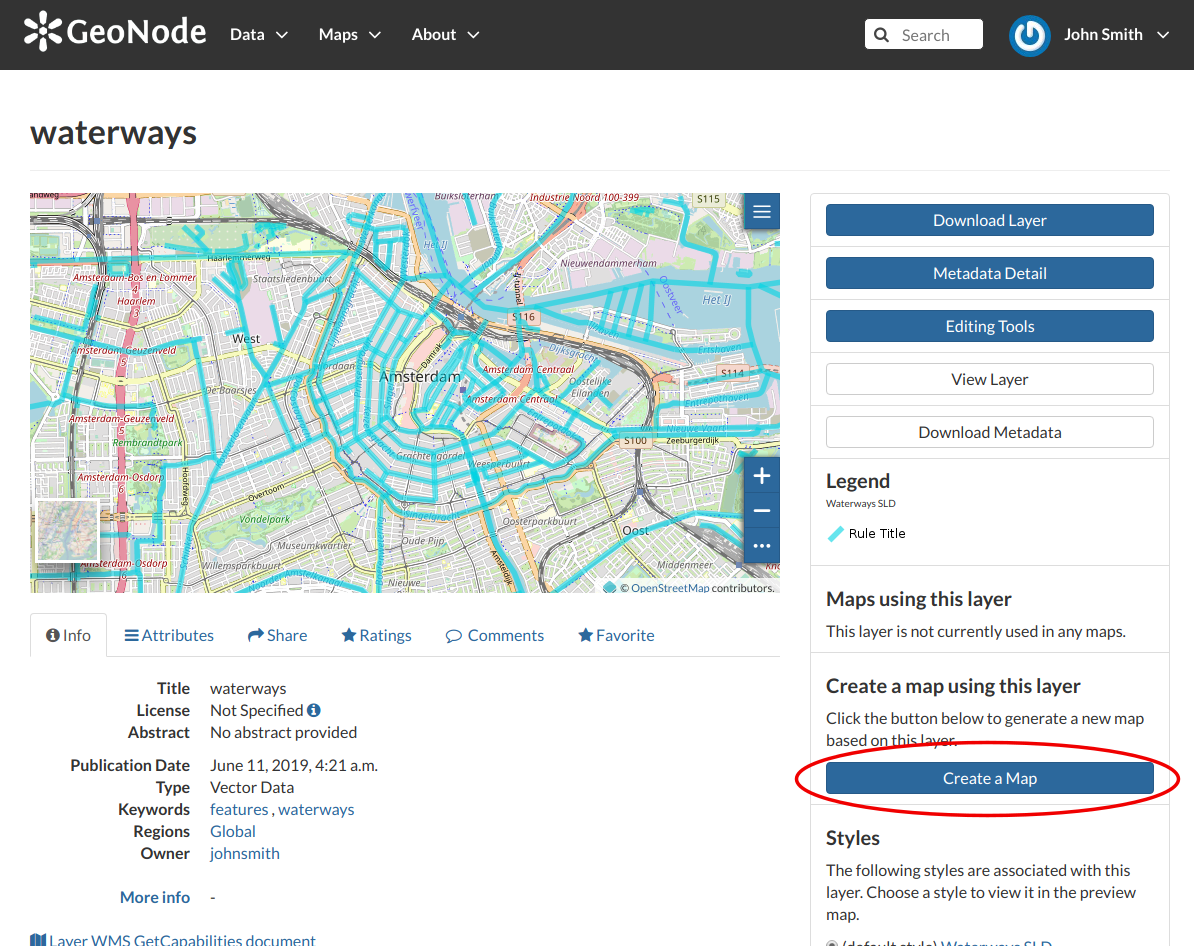
The Create Map button
the Create New Map button in the Explore Maps page
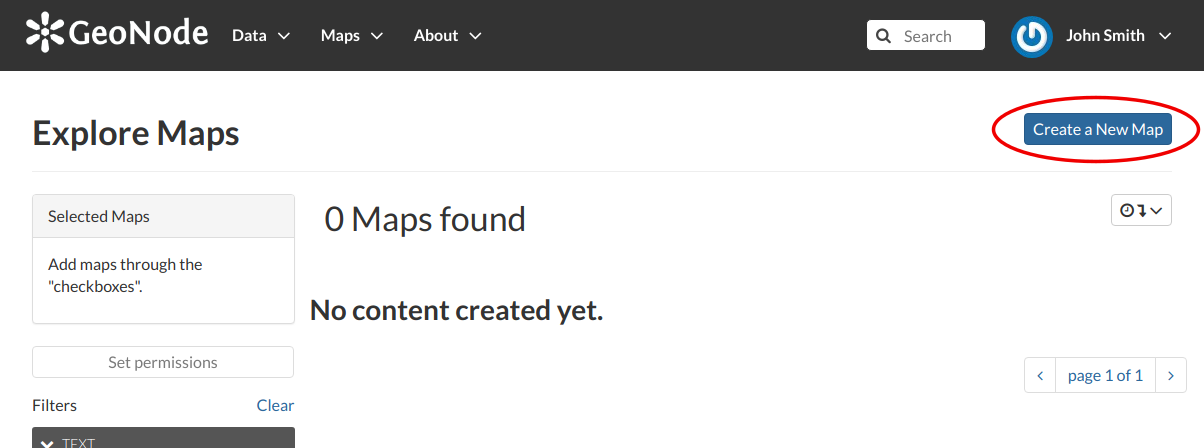
The Create New Map button
The new Map will open in a Map Viewer like the one in the picture below.
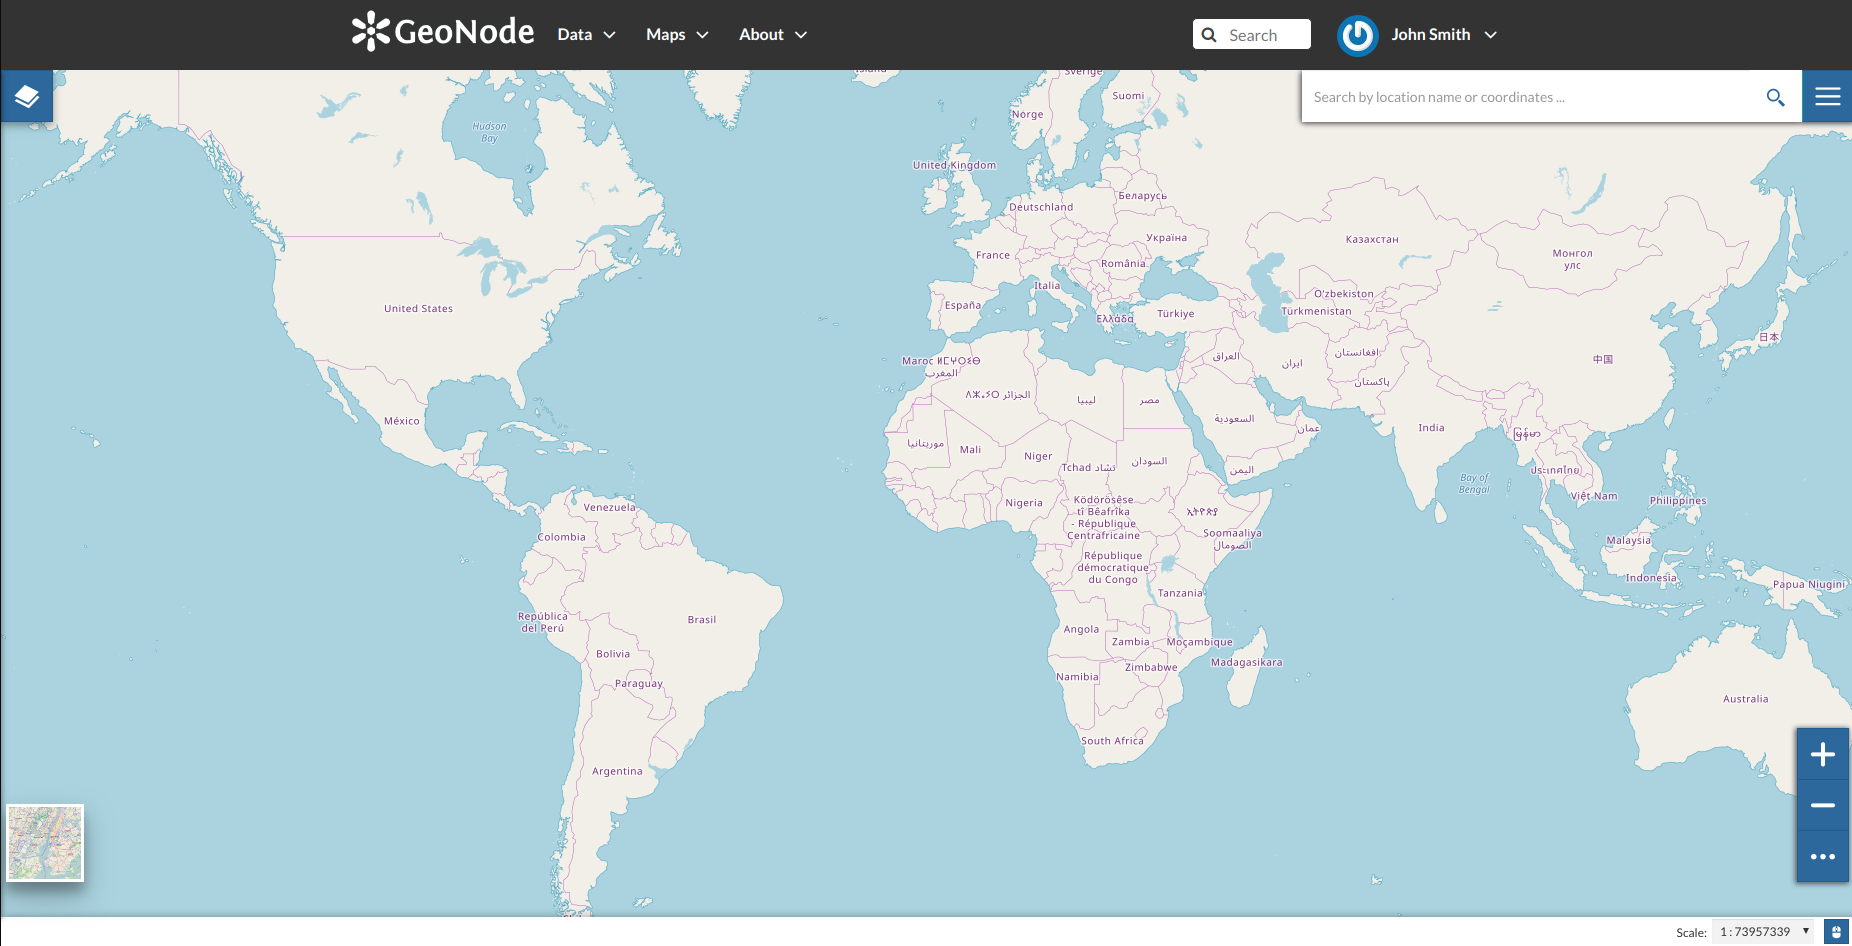
The Map Viewer
 button opens the Table of Contents (TOC) of the Map. It allows to manage all the layers associated with the map and to add new ones from the Catalog.
 and
and  ), to zoom to layers extents (
  ) and to manage their properties (
  ).
). and choosing Save as.
Creating new Maps
If you followed the steps above, you have just created your first Map. Now you should see it in the Explore Maps page, see Map Information for further details.
We will take a closer look at the Map Viewer tools in the Exploring Maps section.