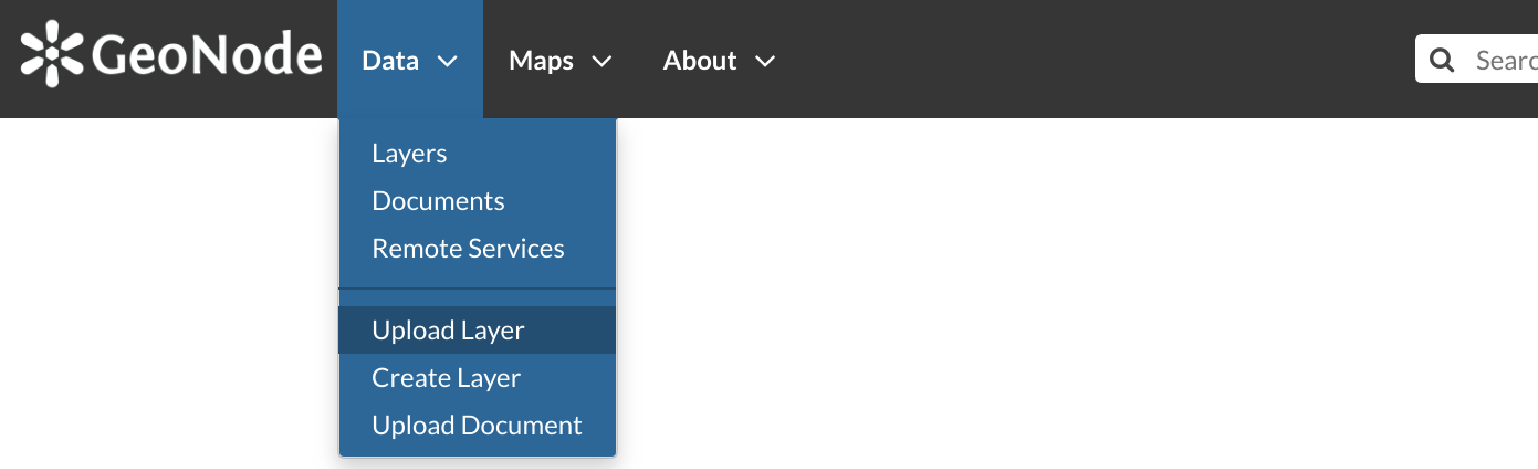
Layers Uploading
The Layer Uploading page can be reached from the Upload Layer link of the Data menu in the navigation bar.
Link for Layers Uploading
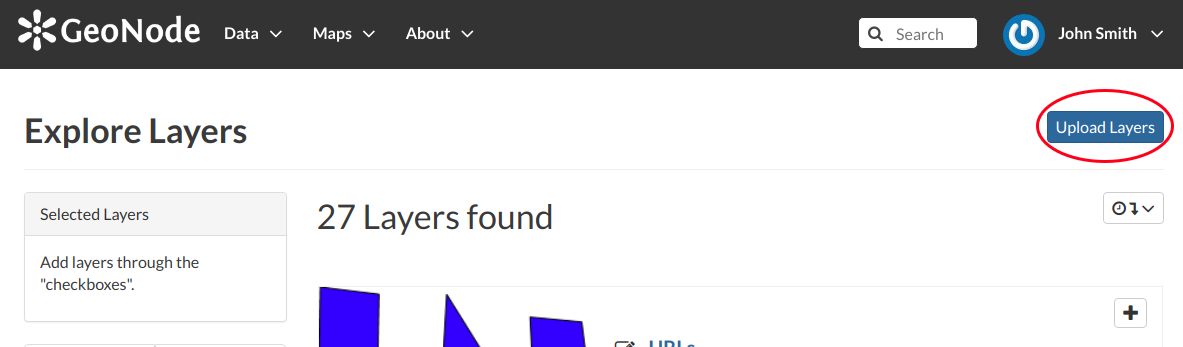
There is also an Upload Layers button in the Layers Page.
Button for Layers Uploading
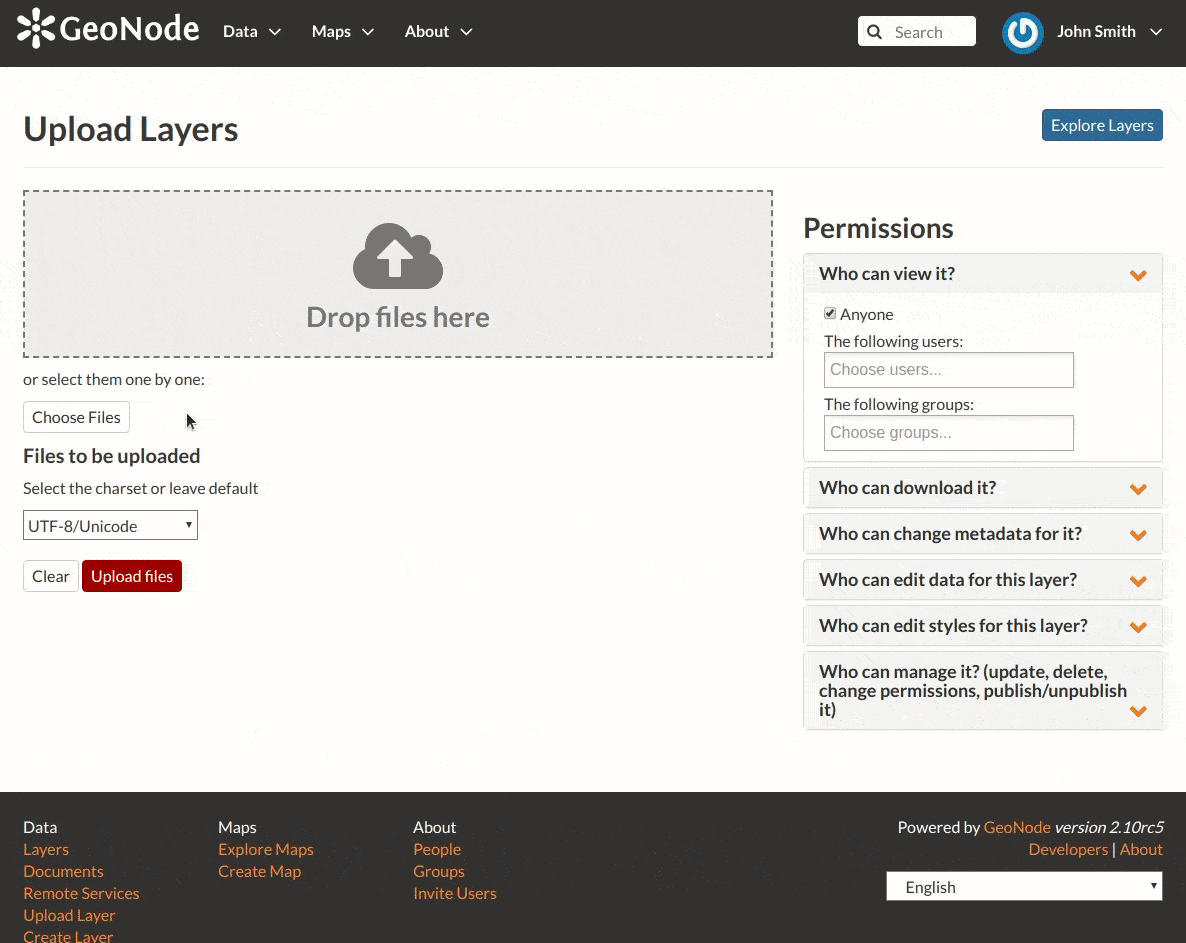
The Layers Uploading page looks like the one in the picture below.
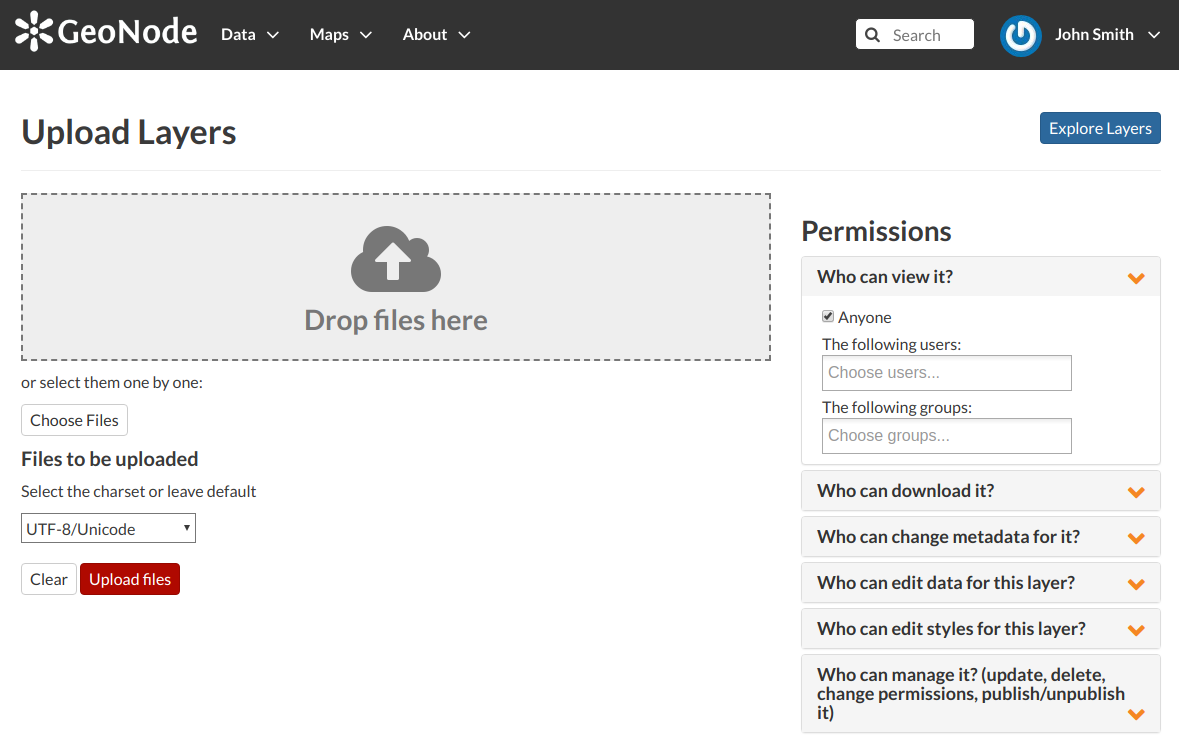
The Layers Uploading page
Shapefile Uploading
In this example the roads ESRI Shapefile, with all its mandatory files (.shp, .shx, .dbf and .prj), has been chosen.
A progress bar shows the operation made during the layer upload and alerts you when the process is over.
When the process ends click the Layer Info to check the layer has been correctly uploaded.
Note
There are lot of free spatial dataset available in the Internet. In this example, an extract of the Berlin city center roads map from the BBBike extracts OpenStreetMap dataset has been used.
In the next paragraphs you will learn how to create a layer from scratch, how to set permissions, how to explore the layer properties and how to edit them.