Maps are helpful because they allow you gain a deeper understanding of your data by allowing you to visualize it in many different ways.
So you can tell different stories depending on how the data is presented.
For any given data or layer, you should explore different styling options and choose the best style for that.
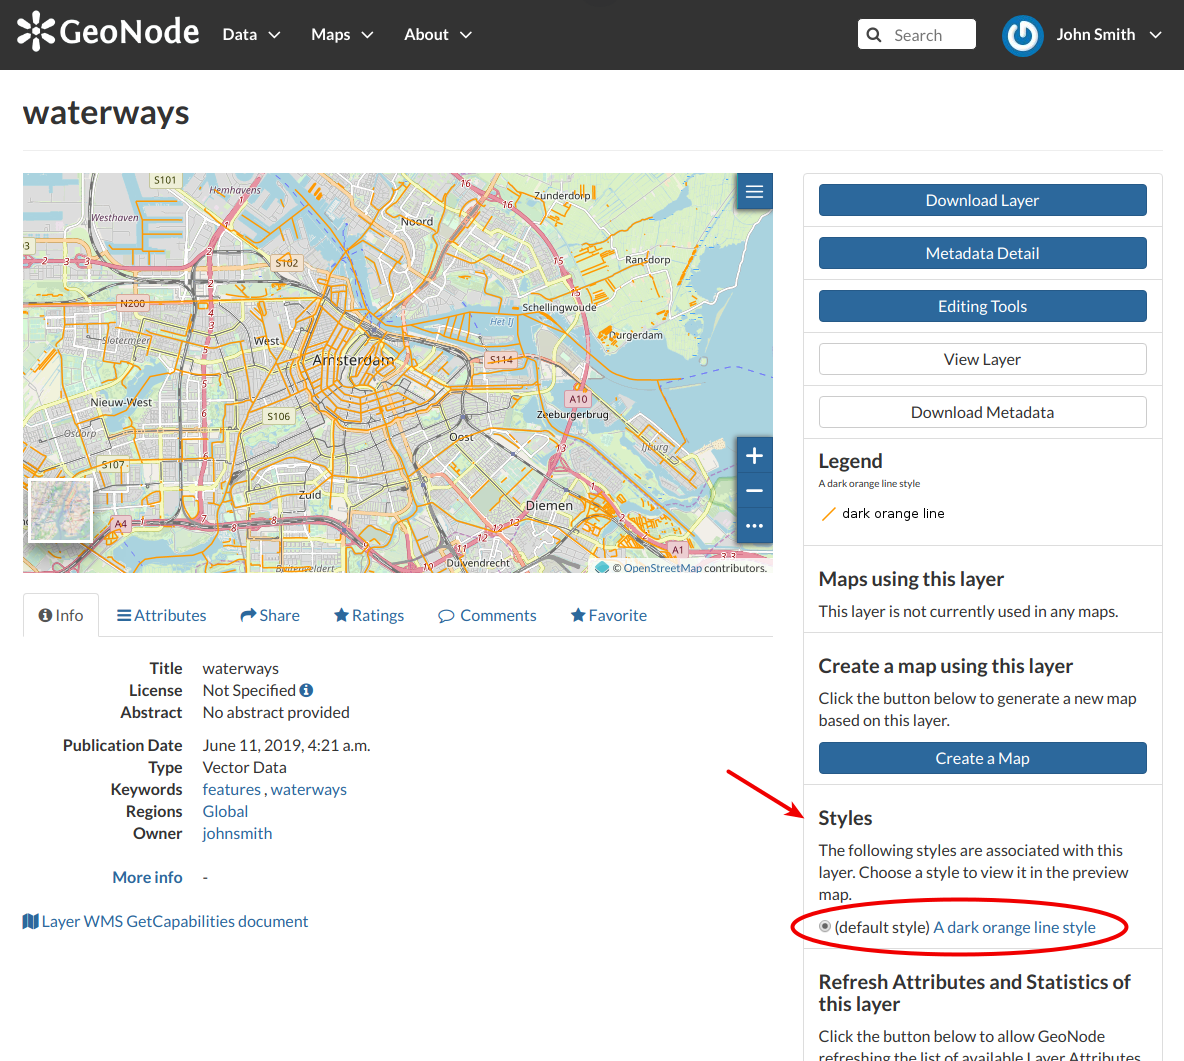
In GeoNode each layer has a Default Style which is determined by the nature of the data you’re mapping. When uploading a new layer (see Layers Uploading) a new default style will be associated to it.
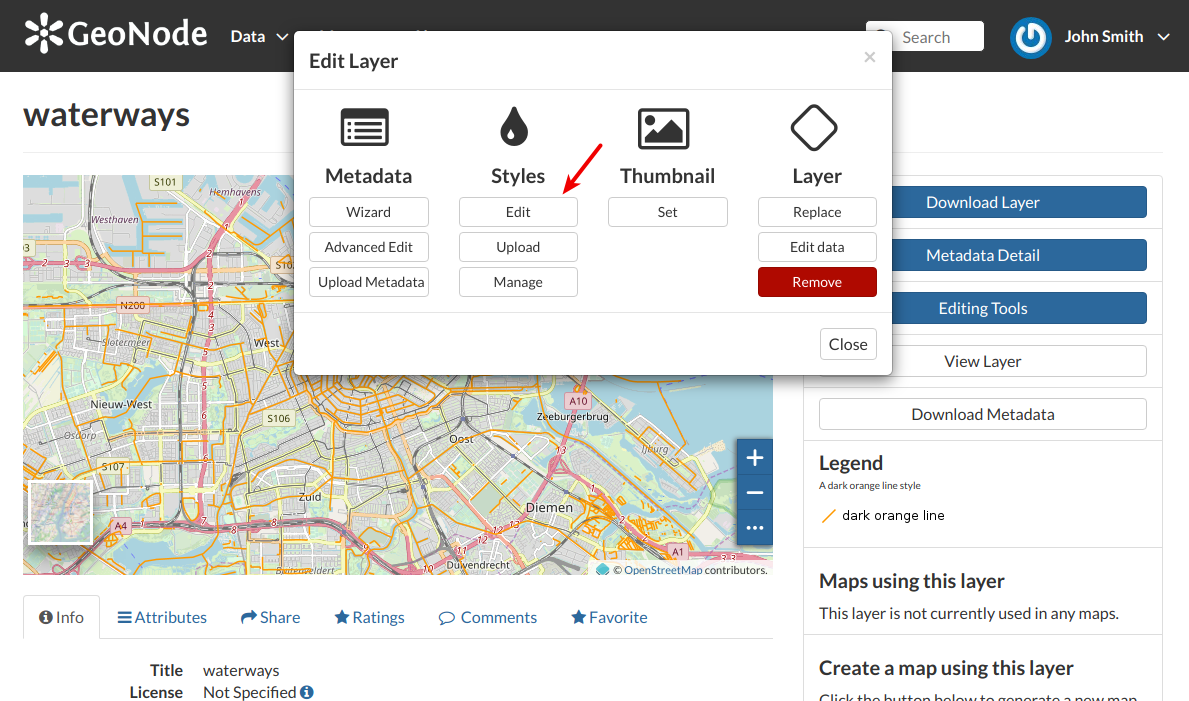
Referring to the example above, dark orange lines are not very good to represent waterways so we would need to change this style. In the following paragraphs you will learn how to create a new style starting from given templates, how to edit a style, how to upload styles from file and how to manage them.
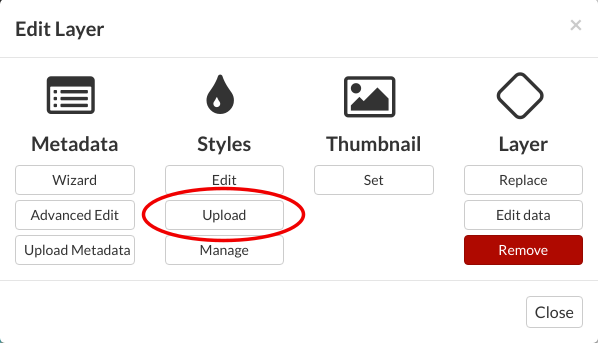
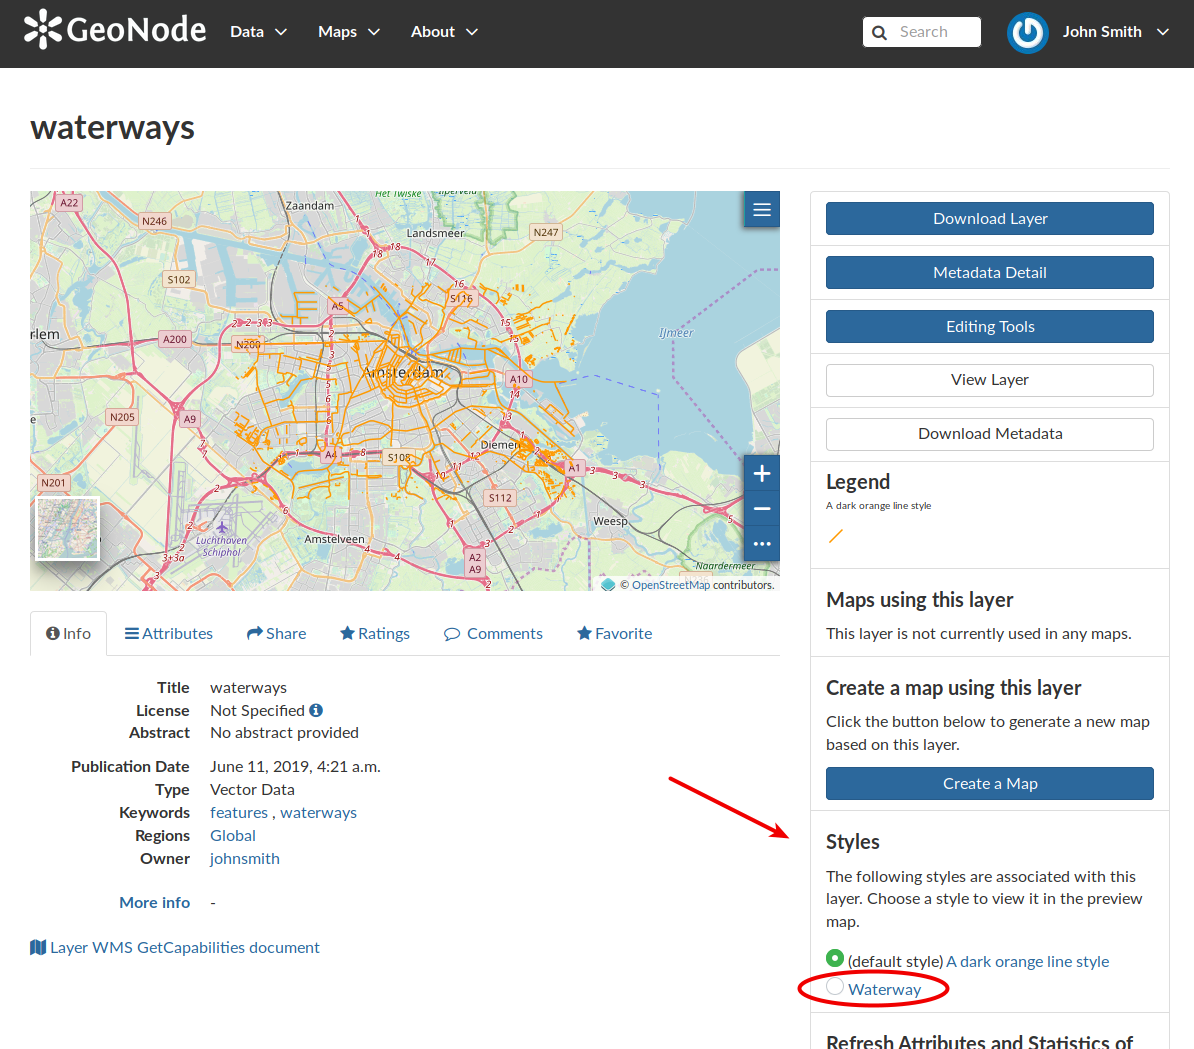
In order to create a new style, open the Layer Page (see Layer Information) and click on Editing Tools. Then click the Edit button in the Styles section of the Layer Editing panel (see the picture below).
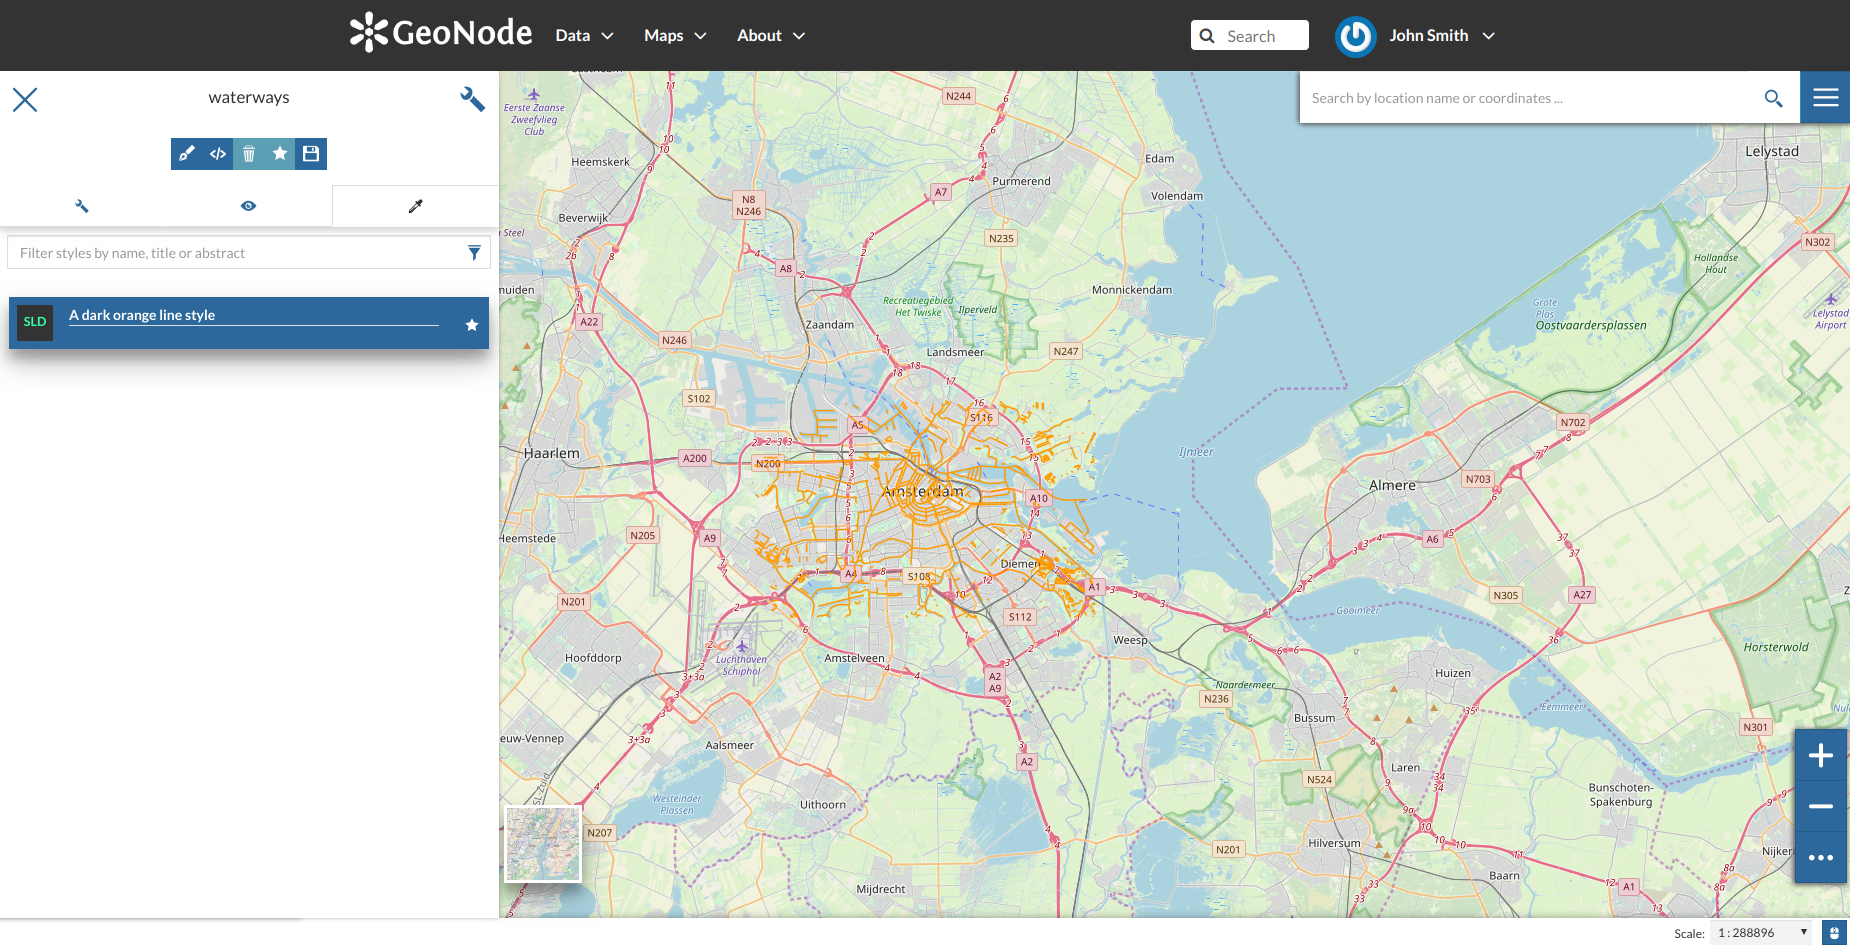
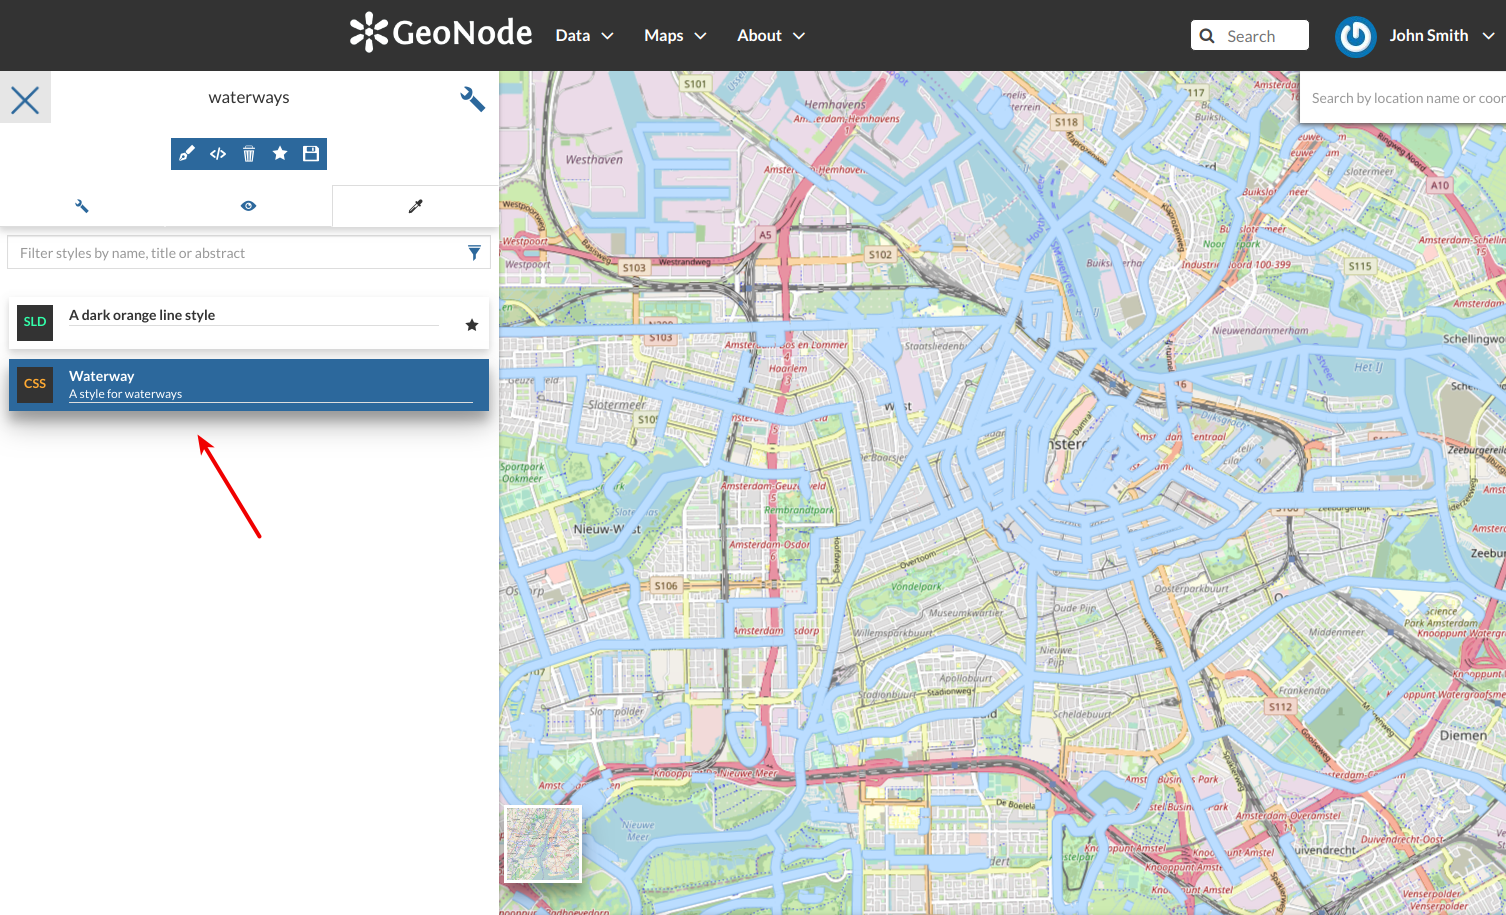
Now you can switch the style by clicking on the corresponding checkbox.
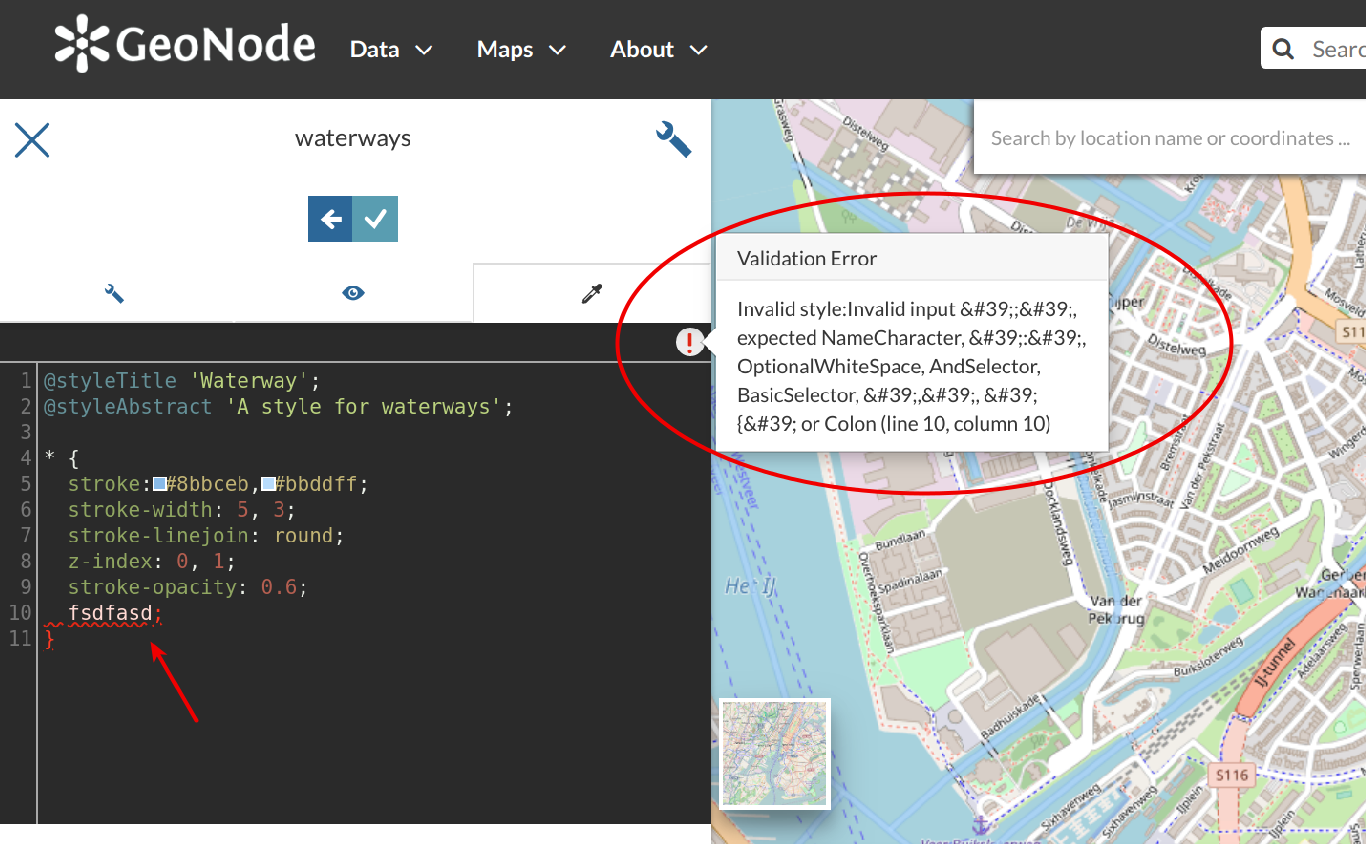
It would be nice to change the style in order to decrease the opacity of the filling color as well as to reduce the lines width.
The embedded MapStore makes available a powerful Style Editor to accomplish that tasks. In the next paragraph we will explain how.
From inside the map open the TOC (Table Of Content) by clicking the button
Click on
Open the Style tab
Warning
Styles editing is allowed only to those users who have the needed permission. See Changing the Layer Permissions to read more)
Select the Style and click on
Edit the style. The Style Editor helps you to write valid styles through the Syntax Validator which shows you a popup in case of errors (see the picture below).
 button. The Style Templates Panel will open.
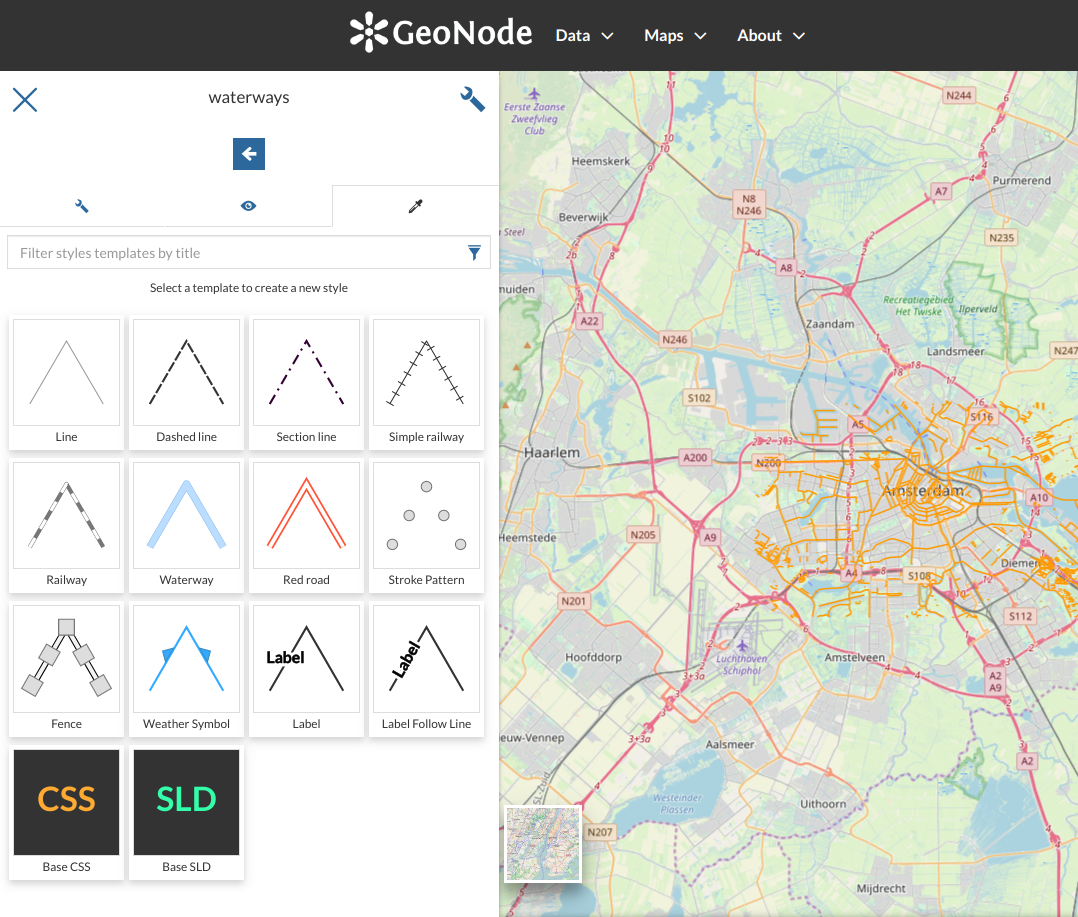
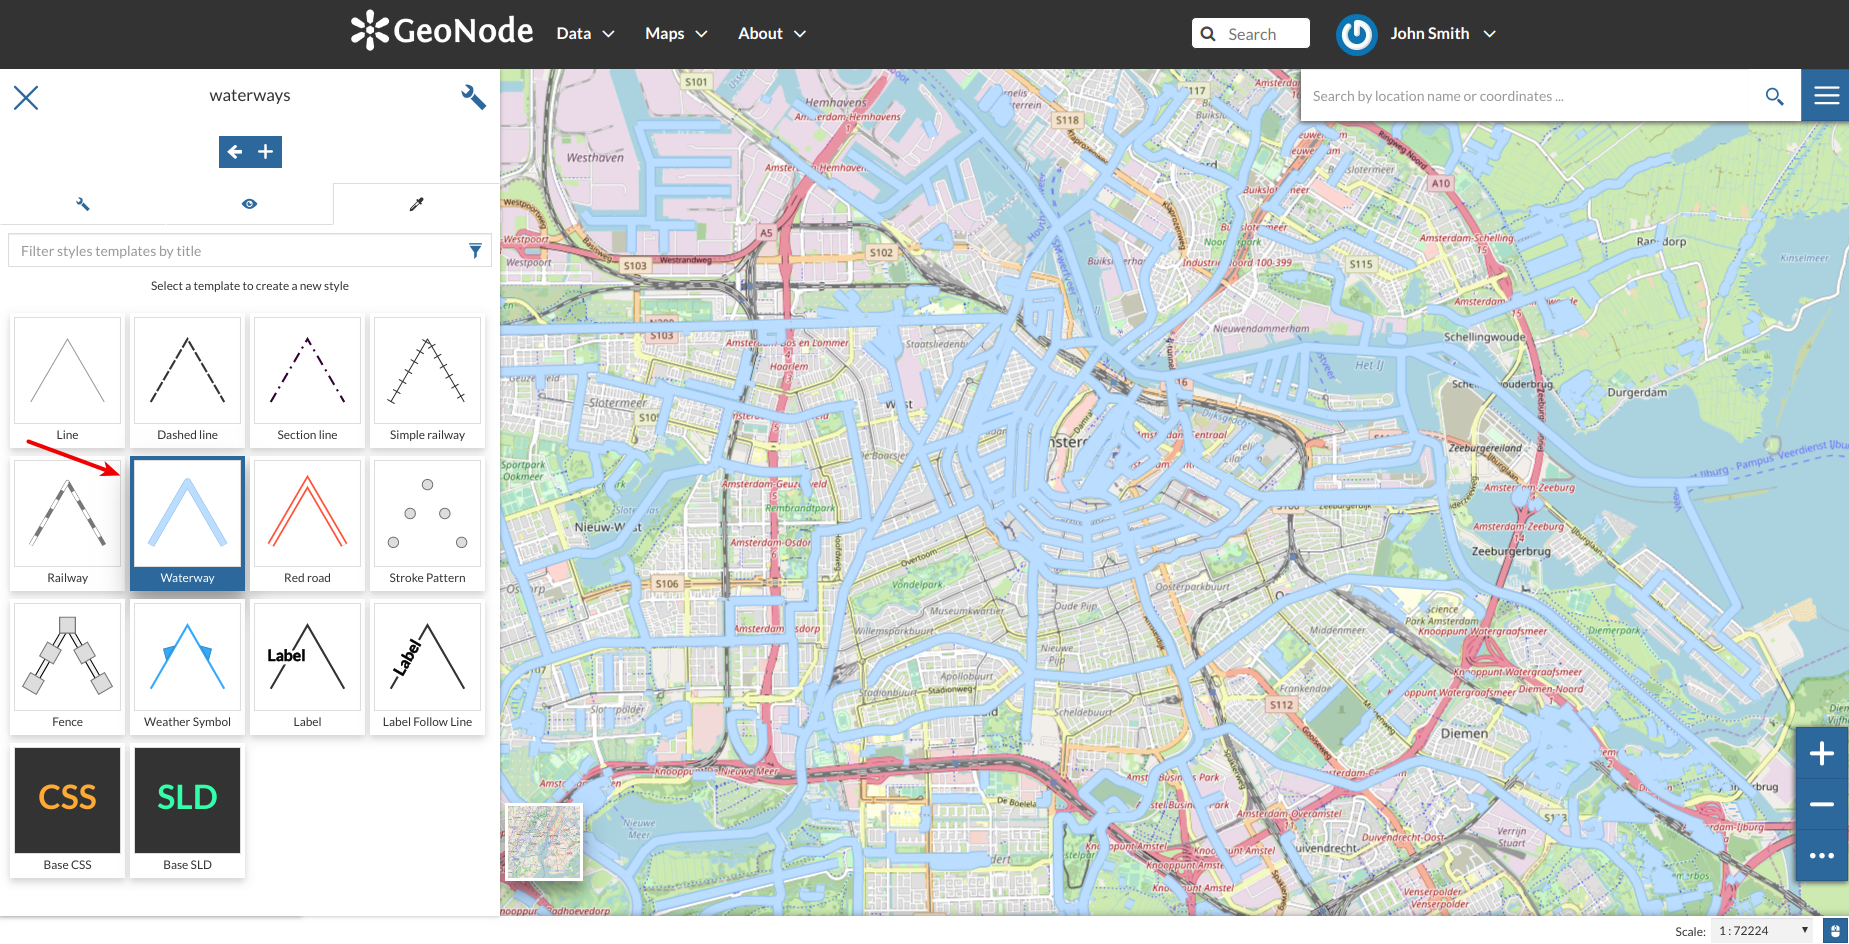
 button to add the Style Template to the styles list.
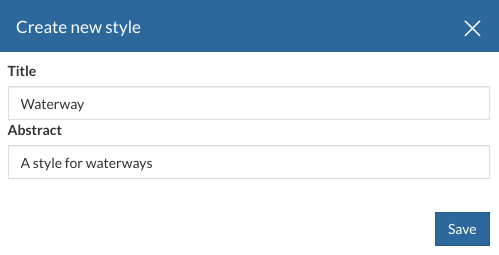
 button


 to save your changes.
 to do that.
 to delete the style.